Skip to product information


110V- 220V European standard 80 wall smart home led Infrared control energy-saving delay Lights motion sensor light switch
R 106.22
SPECIFICATIONS
Brand Name: ESUMZ
High-concerned chemical: None
Material: Polymer
Origin: Mainland China
Output: Switching Transducer
Theory: Inductance Sensor
Type: Biosensor
Use: Position Sensor
is_customized: Yes
SPECIFICATION:
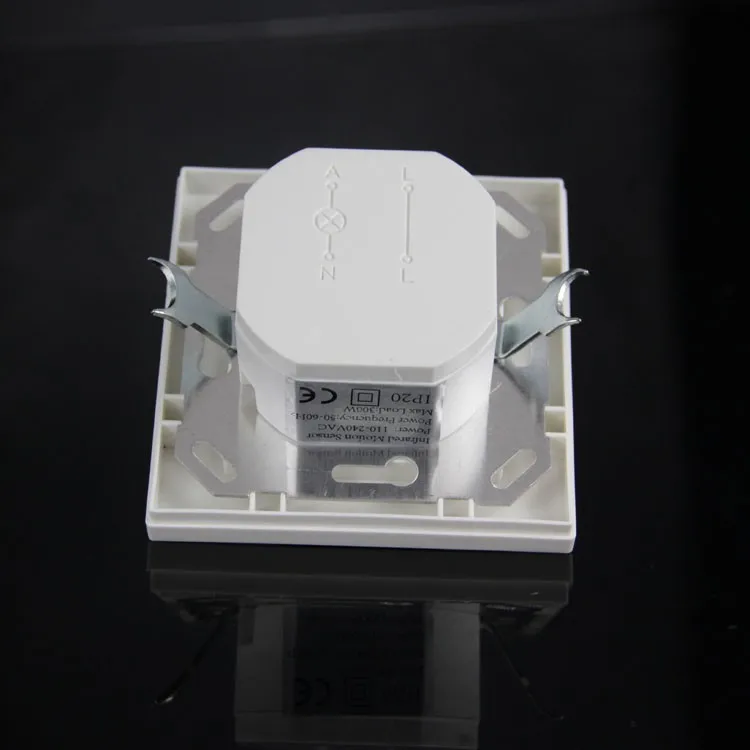
Power Source: 110 -240V / AC
Detection Range: 160 °
Power Frequency: 50-60Hz
Working Temperature: -20 ~ + 40 ° C
Ambient Light: 3-2000LUX (adjustable)
Working Humidity: <93% RH
Time-Delay: min: 10sec ± 3sec Max: 7min ± 2min
Installation Height: 1m-1.8m
Power Consumption: 0.45W (work) 0.1W (static)
Rated Load: 1200W (incandescent lamp) 300W (energy-saving lamp)
Detection Motion Speed: 0.6-1.5m / s
Detection Distance: 9m max (<24 ° C)
FUNCTIONS:
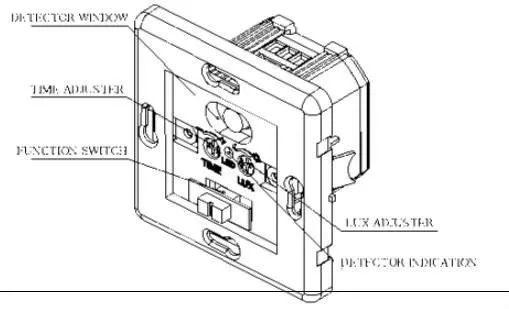
1.Can identify day and night:. The consumer can adjust work ambient light It can work in the daytime and at night when it is adjusted on the "sun" position (max) It can work in the ambient light less than 3LUX when. it is adjusted on the "moon" position (min). As for the adjustment pattern, please refer to the testing pattern.
2.Time-delay is added continually: When it receives the second induction signals after the first induction, it will compute time once more on the rest of the first time-delay basic (set time).
3.Time-delay adjustment: It can be set according to the consumer's desire The minimum time is 10sec ± 3sec The maximum is 7min ± 2min...
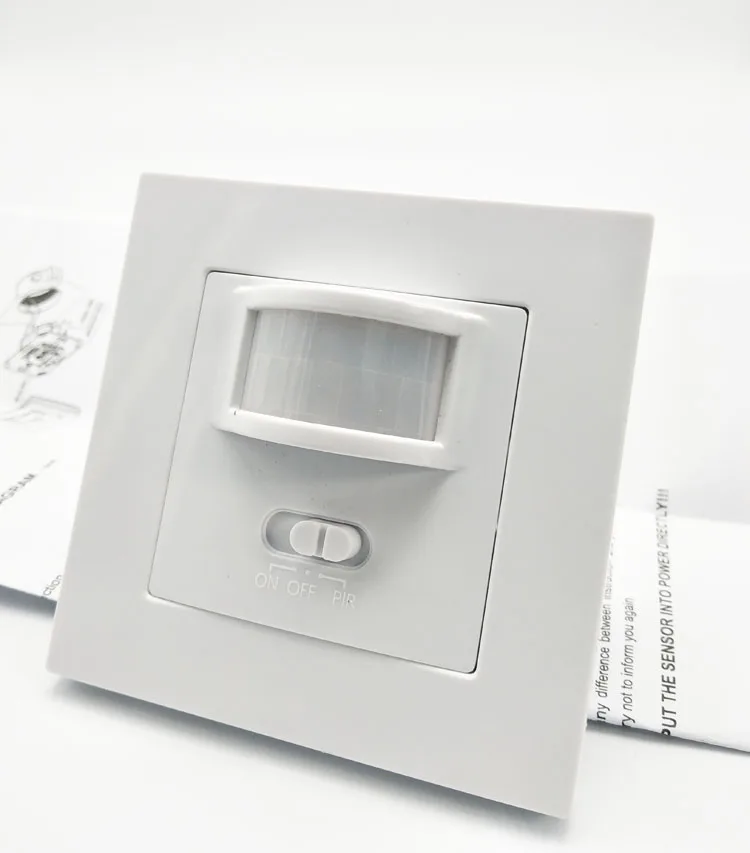
4.The switch: "ON", "OFF", "PIR".
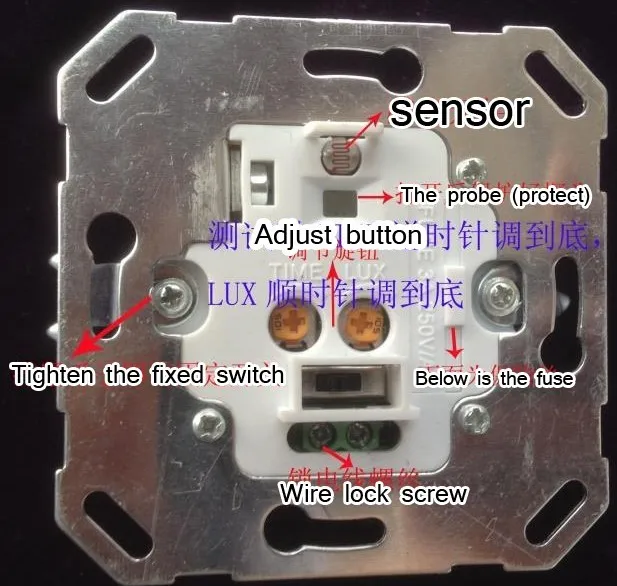
INSTALLATION: (see the diagram)
1.Shut off the power.
2.Loosen the connection column on the bottom of sensor, plug the wire into connection hole, tighten the screws; unload the surface of sensor, connect the sensor into connection box.
3.If you want to install it in quadrate connection box, penetrate the setscrew into installation hole, aim at the installation hole on connection box, then tighten the screw; if you want to install it in circular one, you can use the same way as the quadrate, also adjust the sensor's position, tighten the setscrew on surface, then the fixing arm will open automatically, fasten
the connection box.
4.Switch on the power then test it.
note: when testing in daylight, please turn lux knob to (sun)position, otherwise T and sensor lamp could not work!